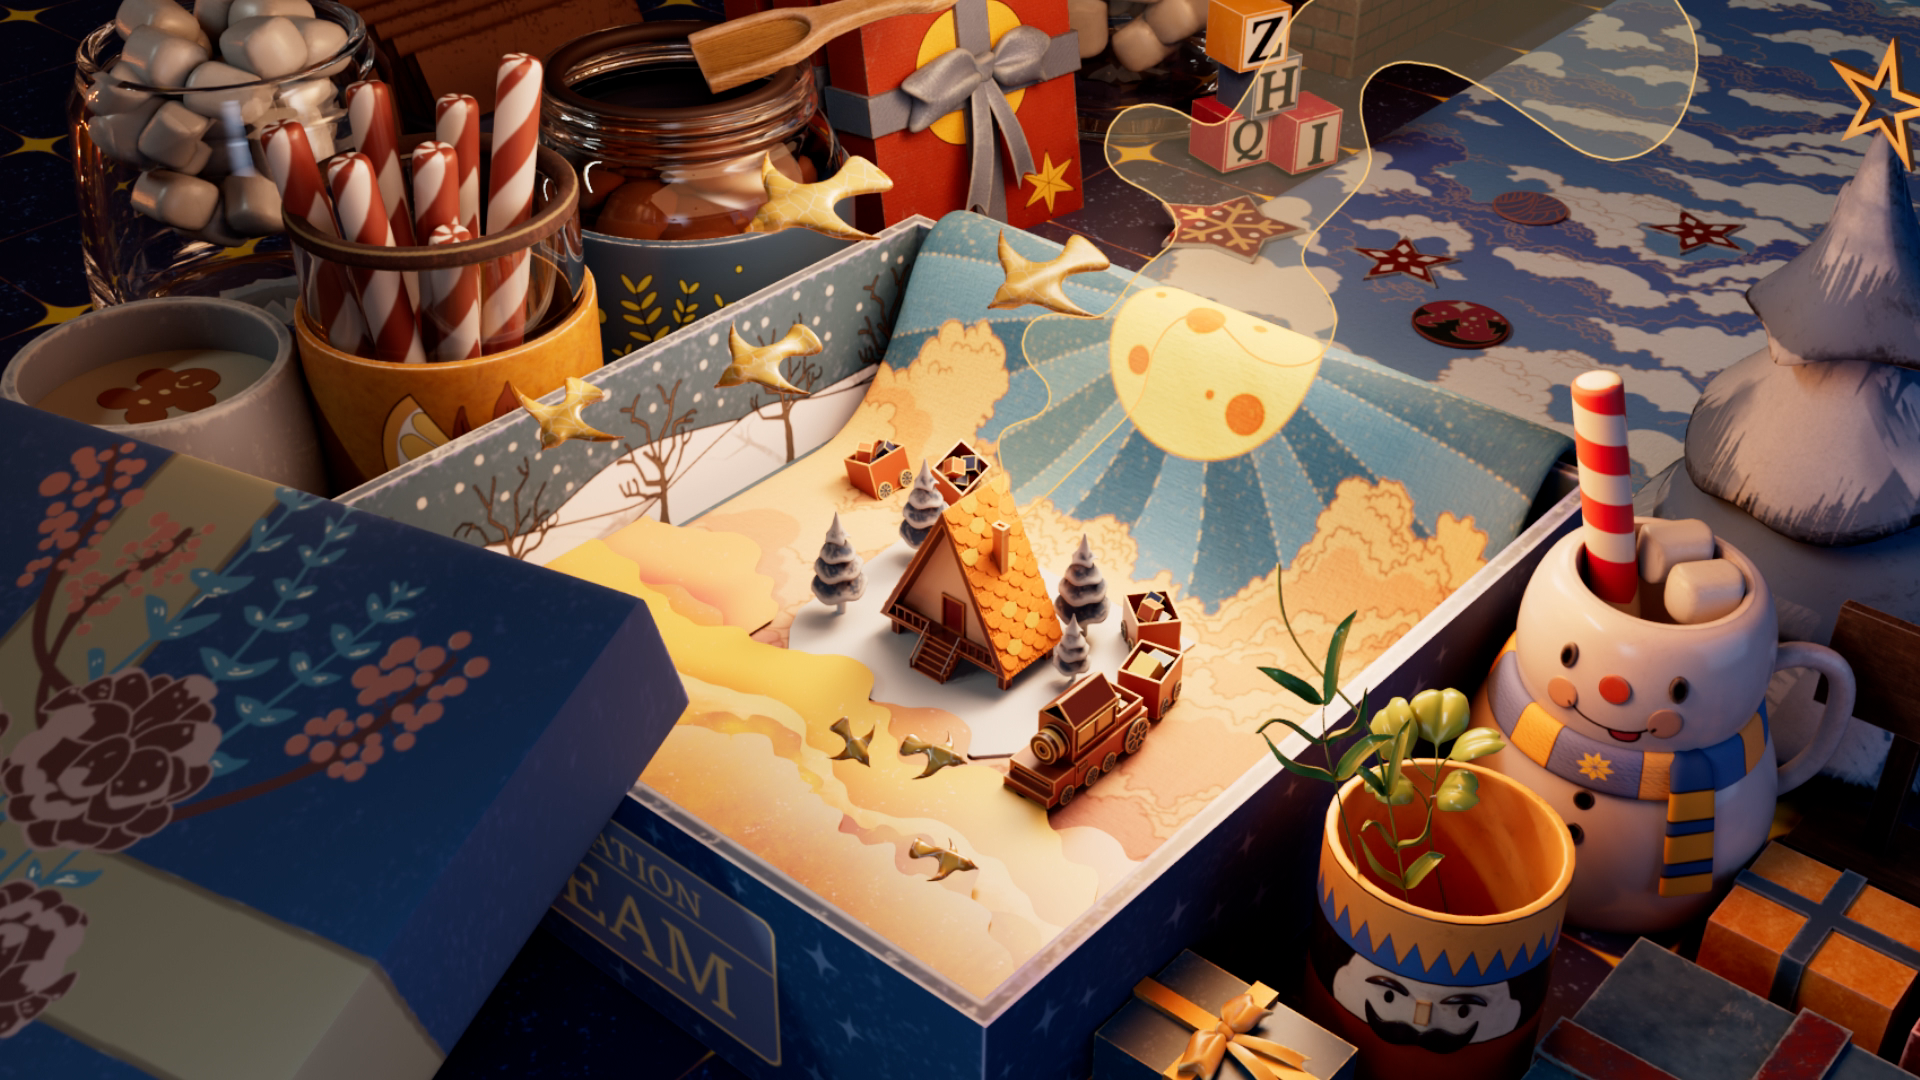
Dream Destination
Software Used: Autodesk Maya, Adobe Substance Painter, Adobe After Effects, Adobe Photoshop, Adobe Illustrator, Nuke
I modeled the entire scene in Autodesk Maya, and then textured it using Adobe Substance Painter. I also used Adobe Photoshop and Illustrator for help me in texturing. For the final touches, I added smoke coming from the house using Adobe After Effects, and completed the color grading in Nuke. Each step was a great opportunity to explore different parts of the pipeline and bring more mood and life to the project.
Project Time: 4 weeks
Reference & Blocking!

Reference & Blocking!
I started this project as a way to practice my modeling, lighting, and texturing skills. I find that using illustrations as references really helps me train my eye — it challenges me to take a 2D composition and bring it to life in 3D while preserving its mood and appeal.
One illustration by Xiansen Ni especially stood out to me. It had such a warm and comforting atmosphere, and I was inspired to use it as a base for this project. My goal wasn’t to recreate it exactly, but to interpret it in my own way — with a more realistic and colorful look, while love that same emotional tone!
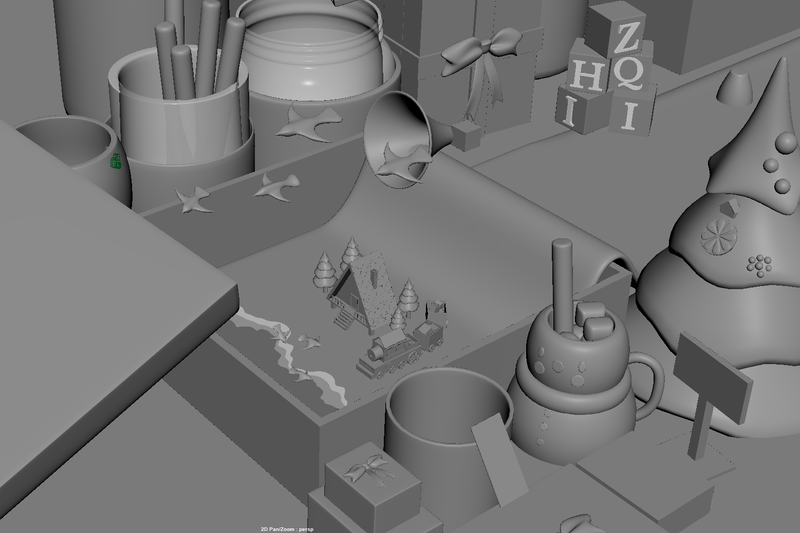
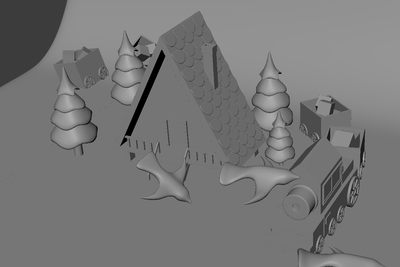
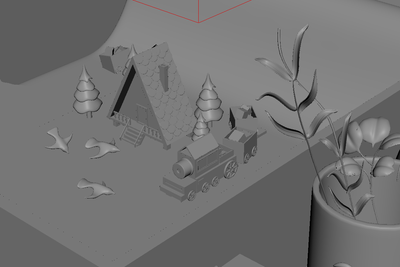
I began by blocking out the environment in 3D to establish the composition and scale before moving on to detailed modeling.
Modeling
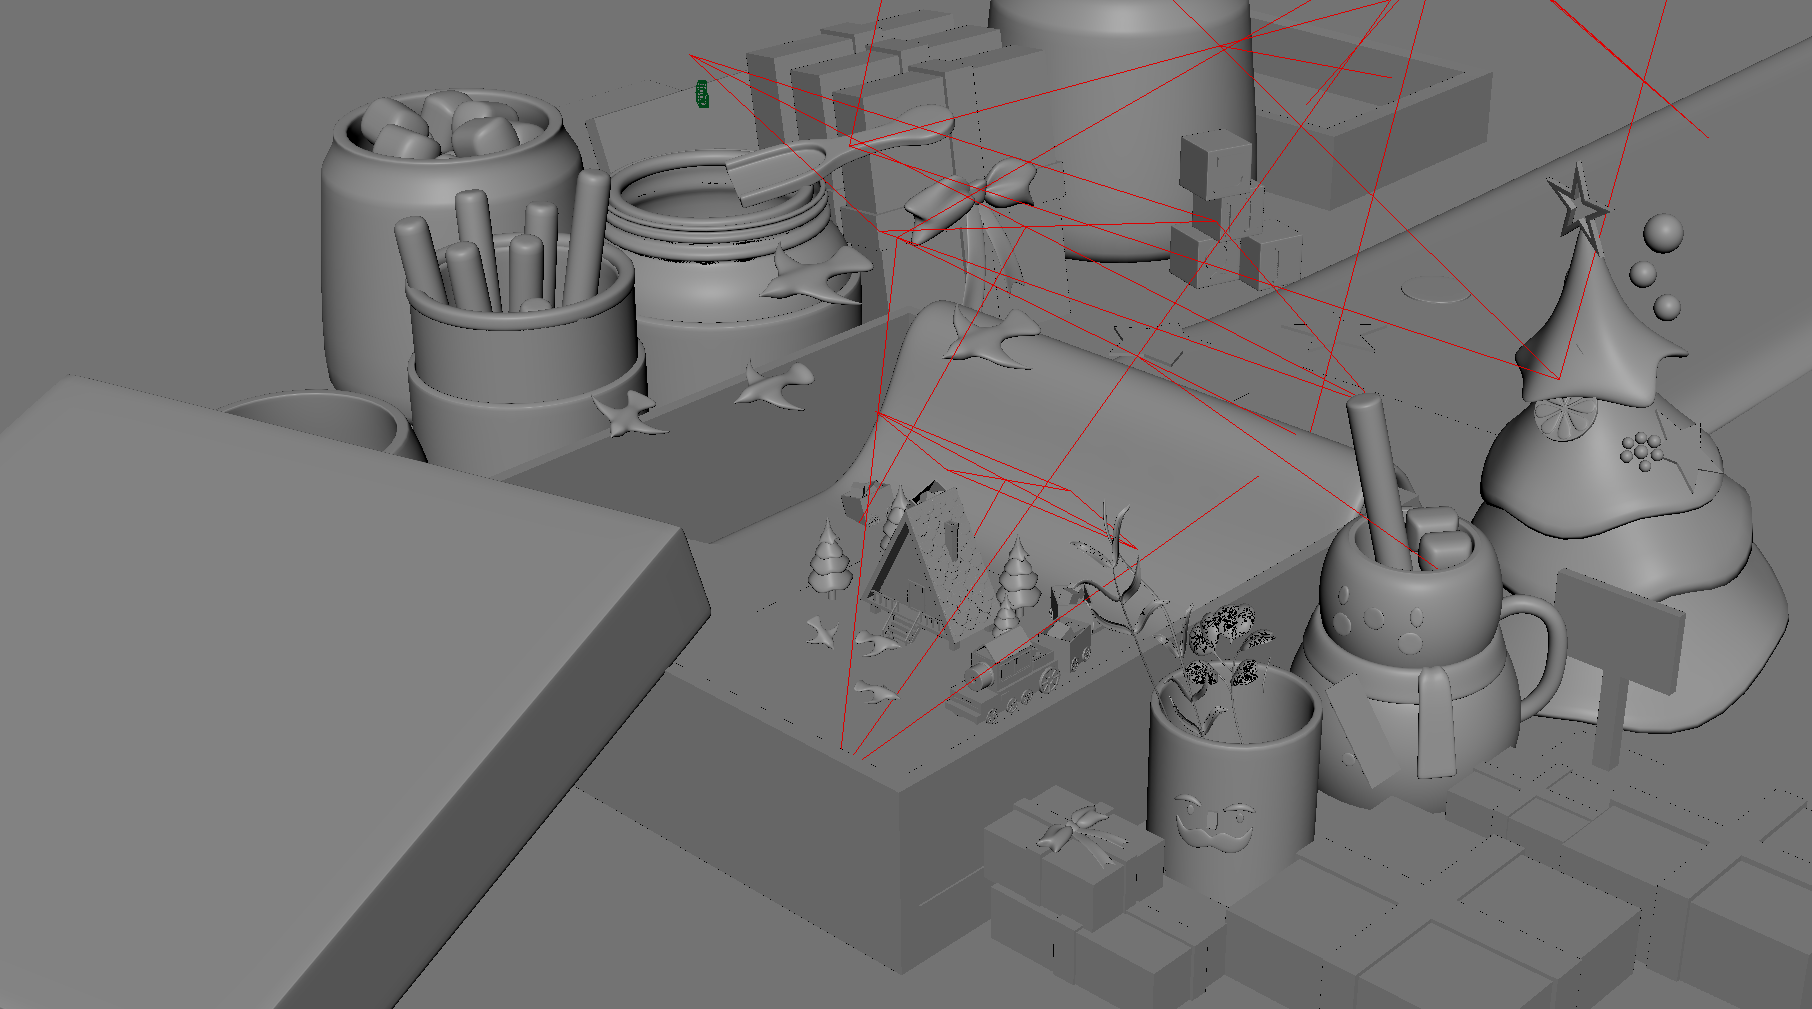
Next, I started refining my models to bring more detail and personality into the scene. I wanted to create a soft fabric that sits naturally inside the gift box, so I used nCloth simulation in Autodesk Maya to get a realistic drape.
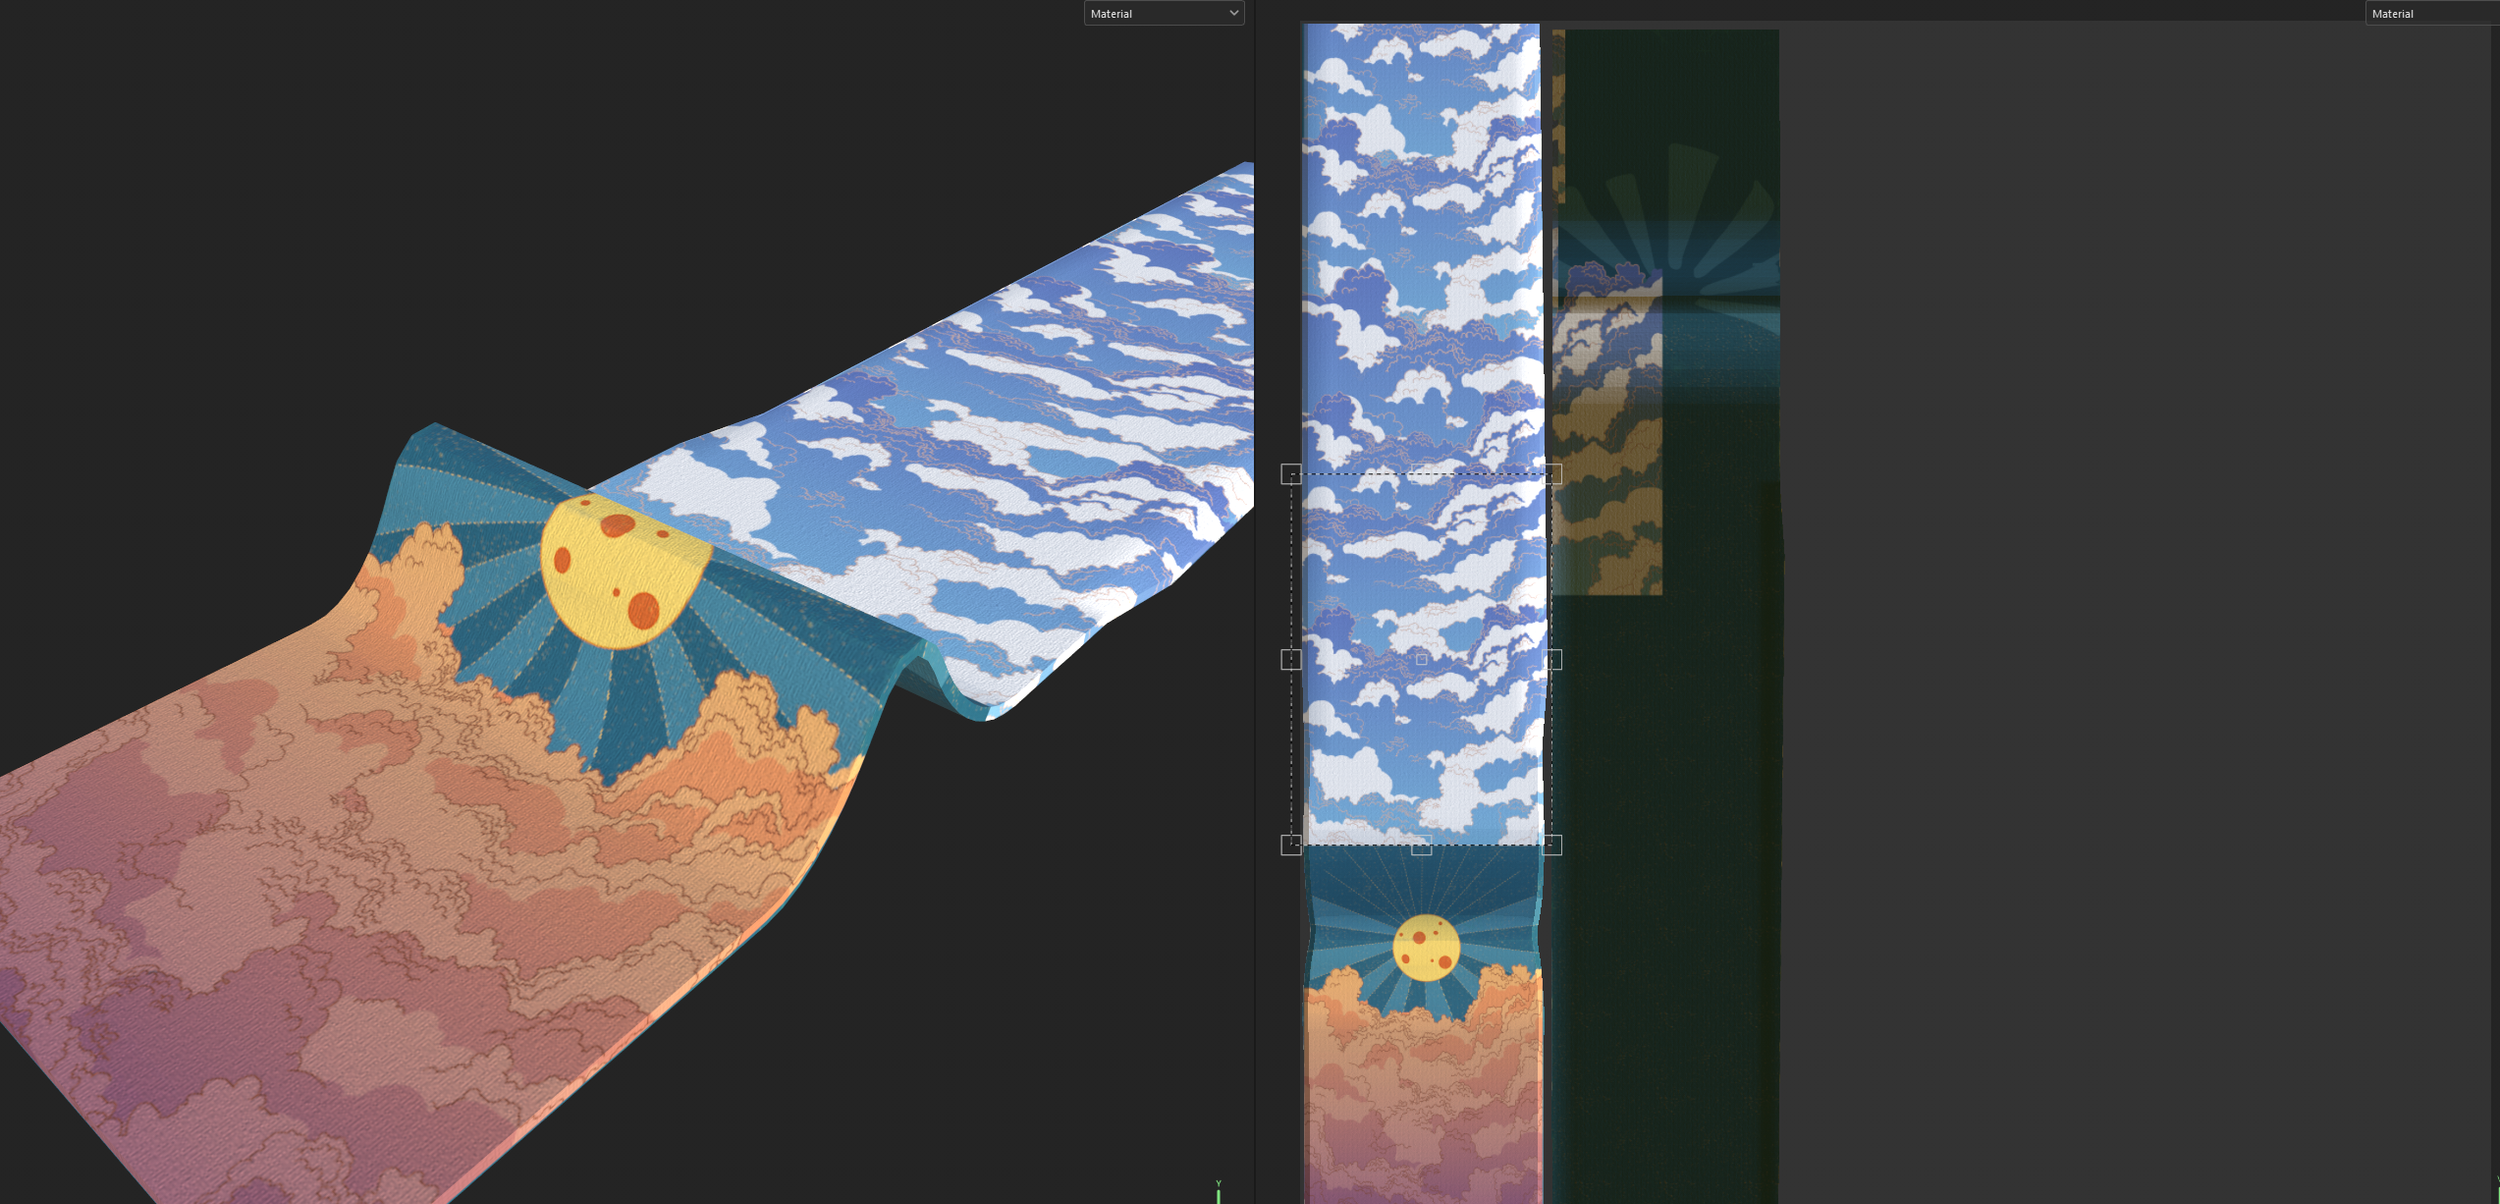
Instead of keeping the clouds flat like in the original illustration, I built them piece by piece to give them more volume and dimension. I also added a fun personal touch by incorporating my name into the scene as colorful toy blocks, blending it naturally into the environment.
Lighting Test
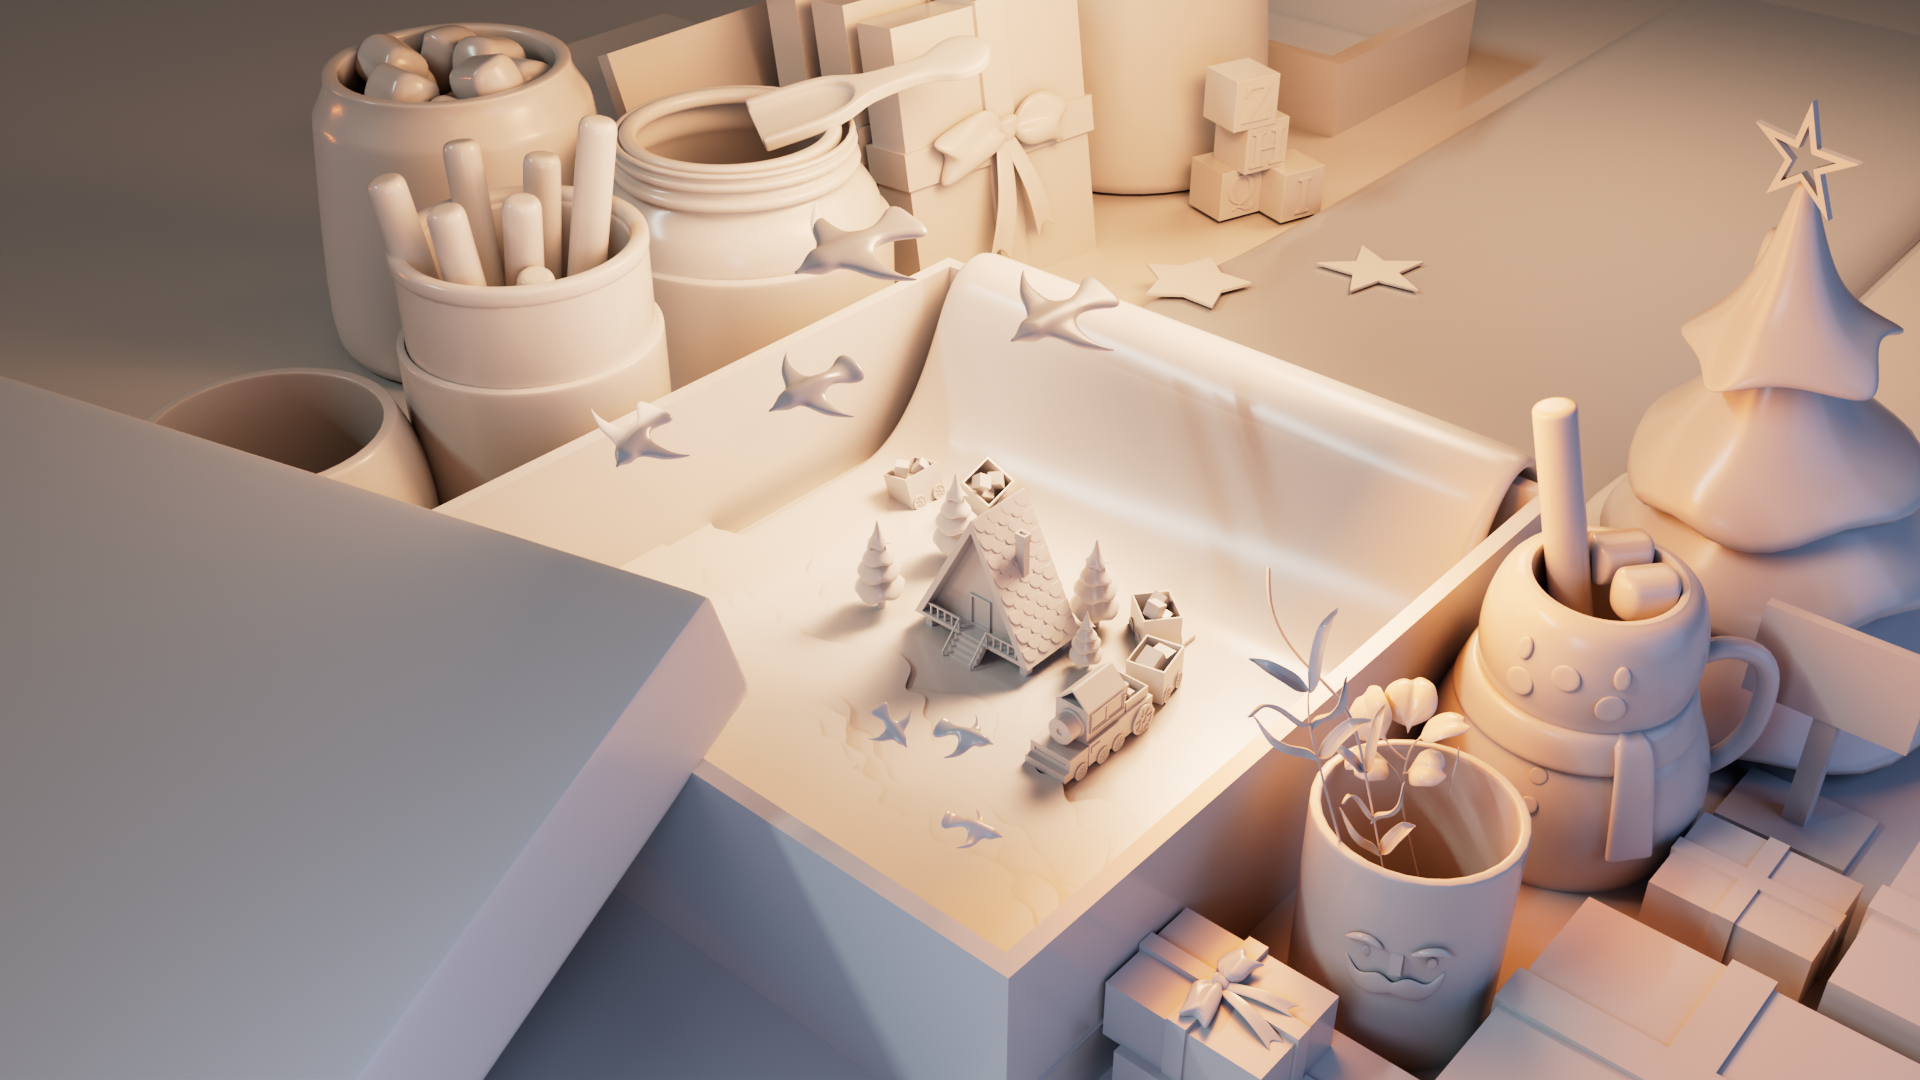
Before moving on to texturing, I did a lighting test to set the overall mood of the scene before I start texturing. I started by placing a sky dome to light the environment, then adjusted the main light’s angle and color temperature to create a warm, inviting atmosphere.
To bring more depth to the overall look, I placed multiple area lights from different angles, helping to softly shape the scene and guide the viewer’s eye.
UV and Texturing
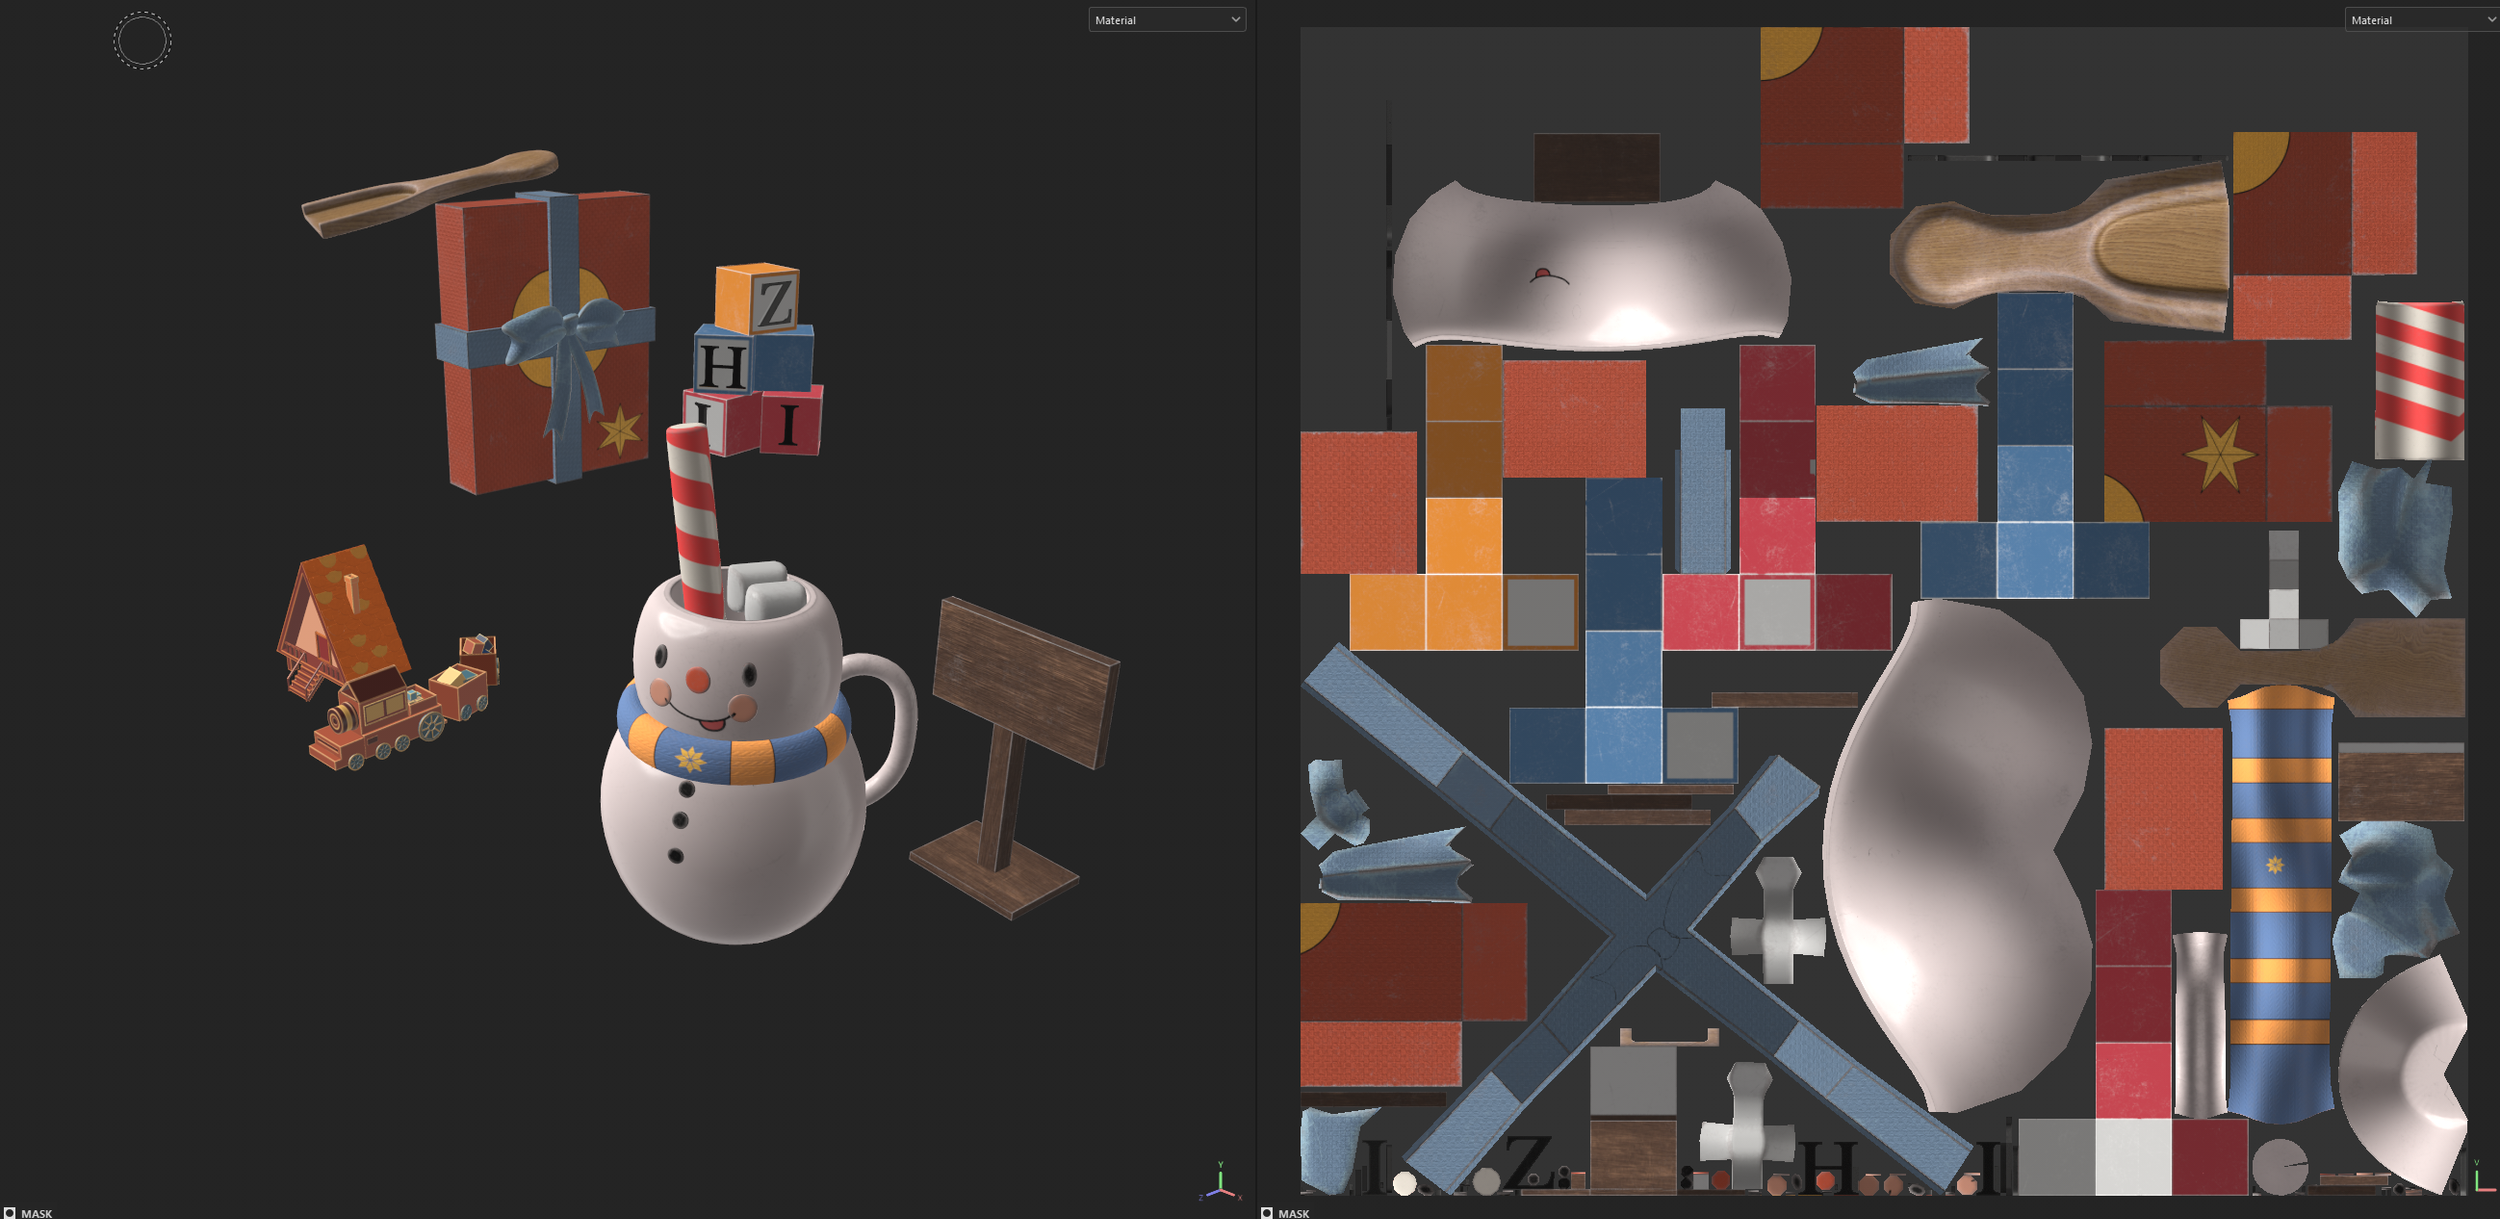
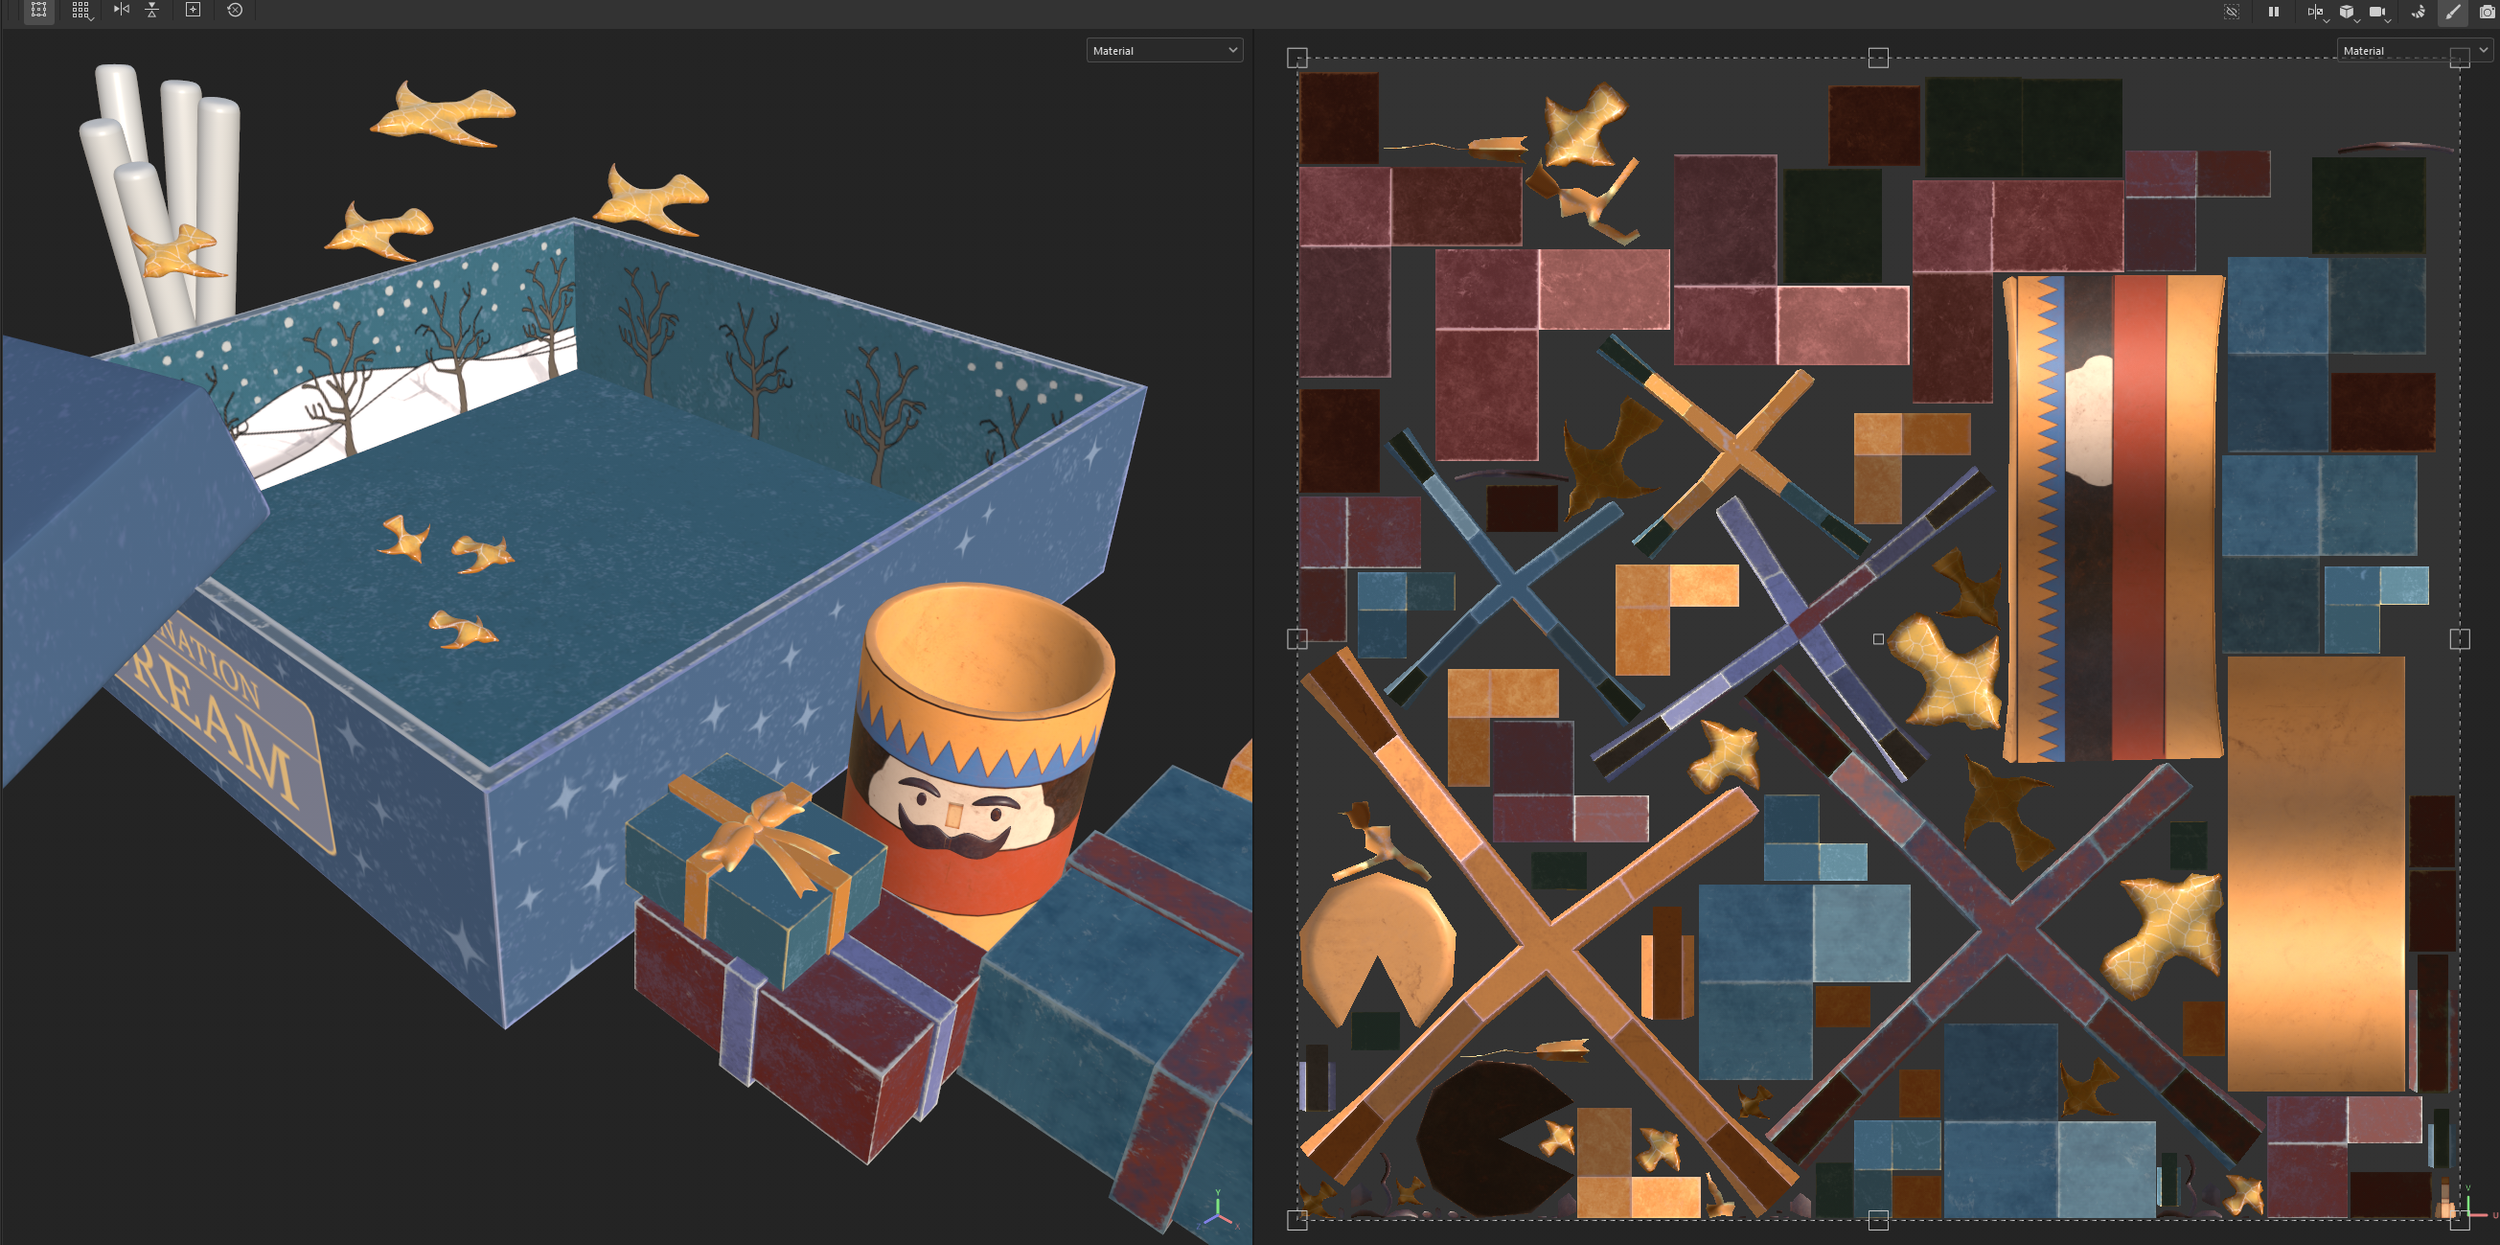
After modeling, I unwrapped the UVs for all the objects in the scene using Autodesk Maya. To optimize my workflow, I grouped related objects and packed them into the same UV map, allowing them to share a single material. This not only helped me make better use of UV space but also kept the scene clean and organized.
Instead of importing the entire scene into Substance Painter, I exported objects group by group as FBX files. This made it easier to manage performance and texture by category. Once inside Substance Painter, I baked the mesh maps and began the texturing process.
I also used Photoshop and Illustrator to help create some of my textures. I drew out all the designs I needed, exported them as PNG files, and then imported them into Substance Painter to apply them to my models.
Apply Texture
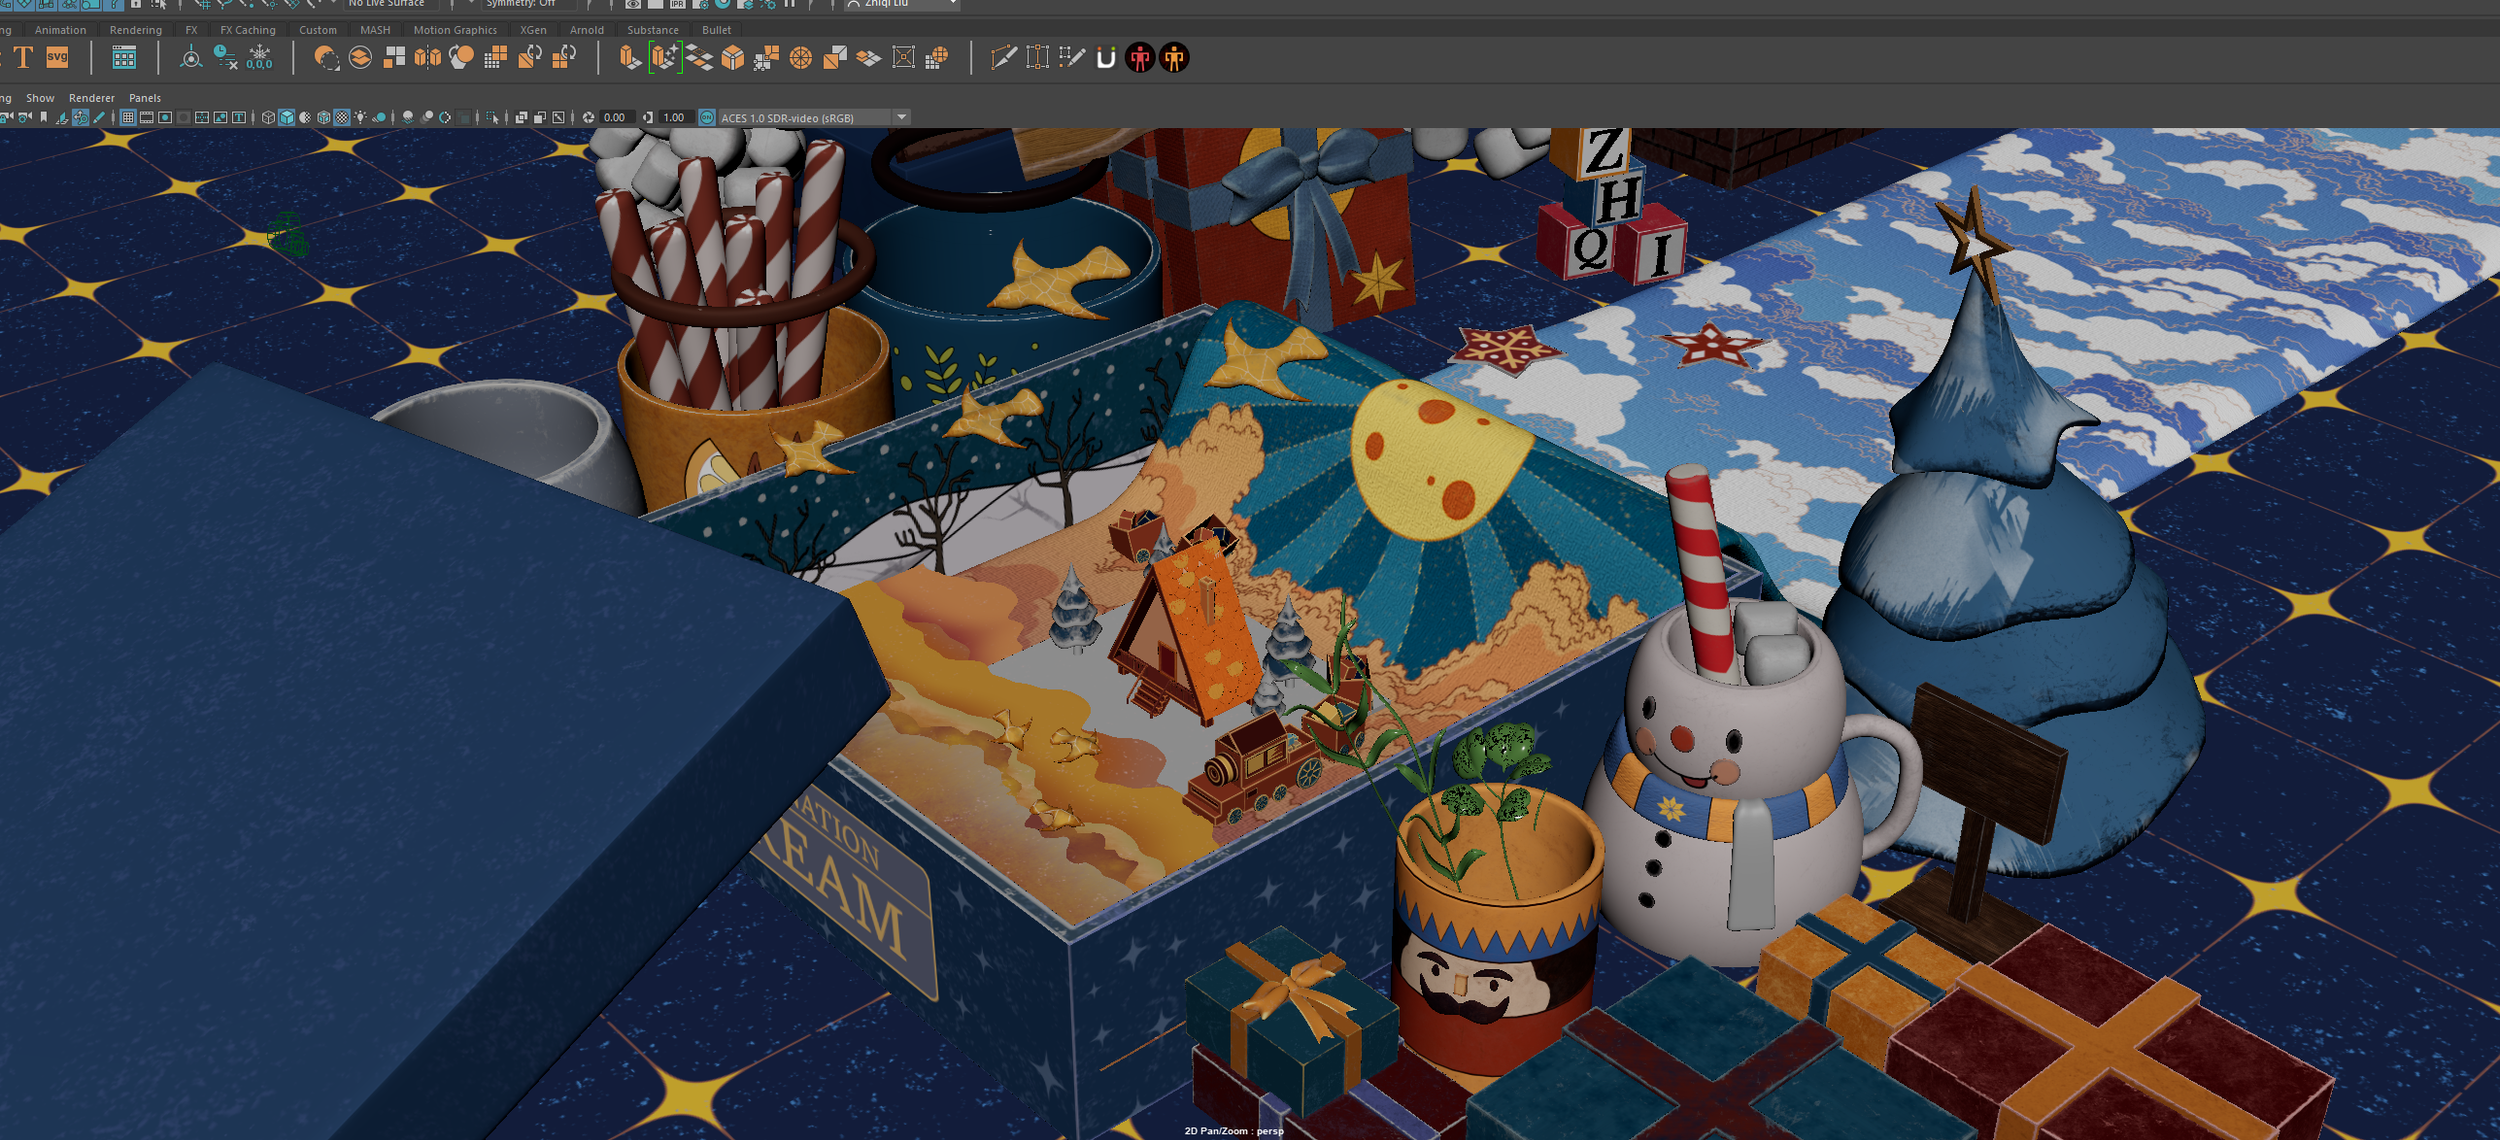
After finishing the texturing in Substance Painter, I exported all my texture maps and imported them into Autodesk Maya. I connected the maps to my materials and adjusted the settings to make sure everything looked right. Adding color, surface detail, and mood to the scene.
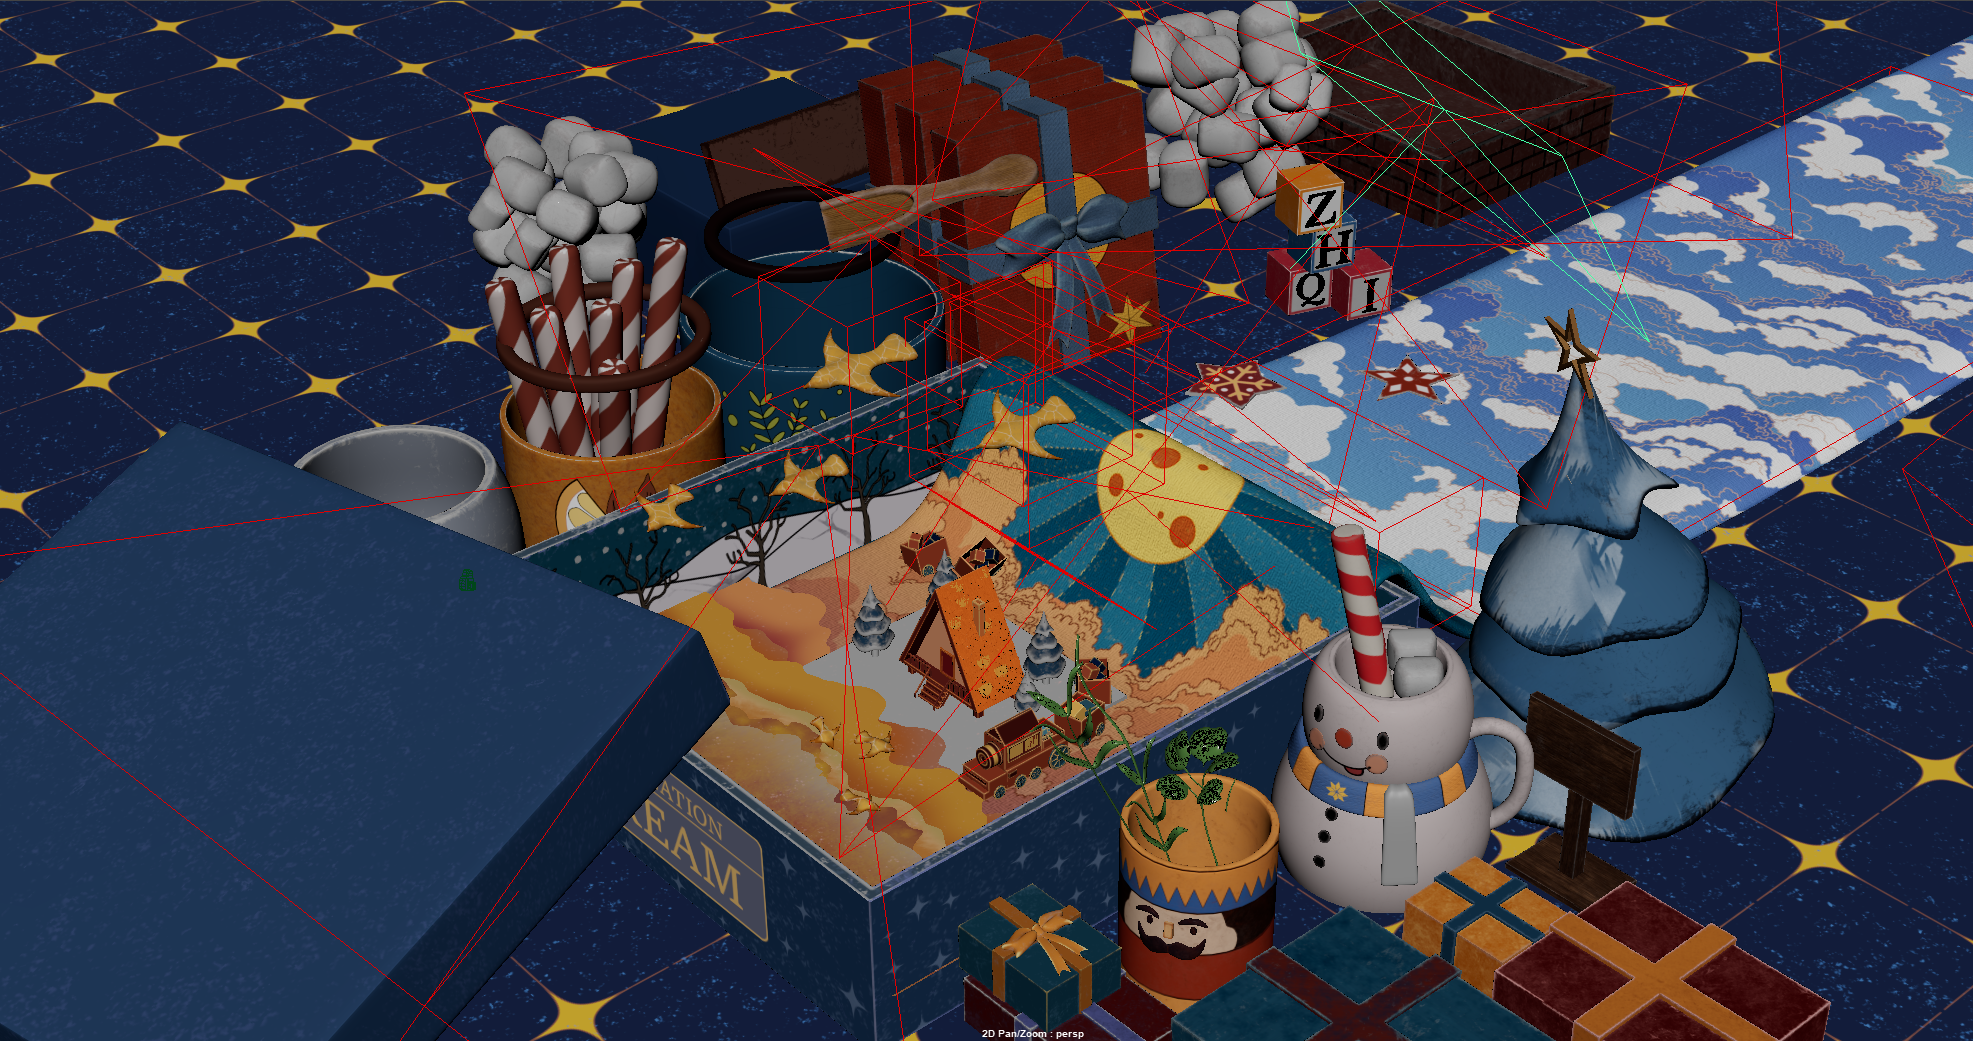
Lighting
What I learned?
To make the scene look better and give it a nice glow, I added more area lights to brighten the detailed parts and help the colors and textures stand out. I also used light blockers in Maya to remove any unwanted light in areas where it didn’t look right.
For parts of the scene that weren’t the main focus, I still added some area lights to softly light those areas and keep the scene feeling balanced. I adjusted the color temperature of these lights to be cooler. Using cooler lights to create contrast with the warmer lighting in the center. Having both warm and cool tones gave the scene more depth and made it look more visually interesting.
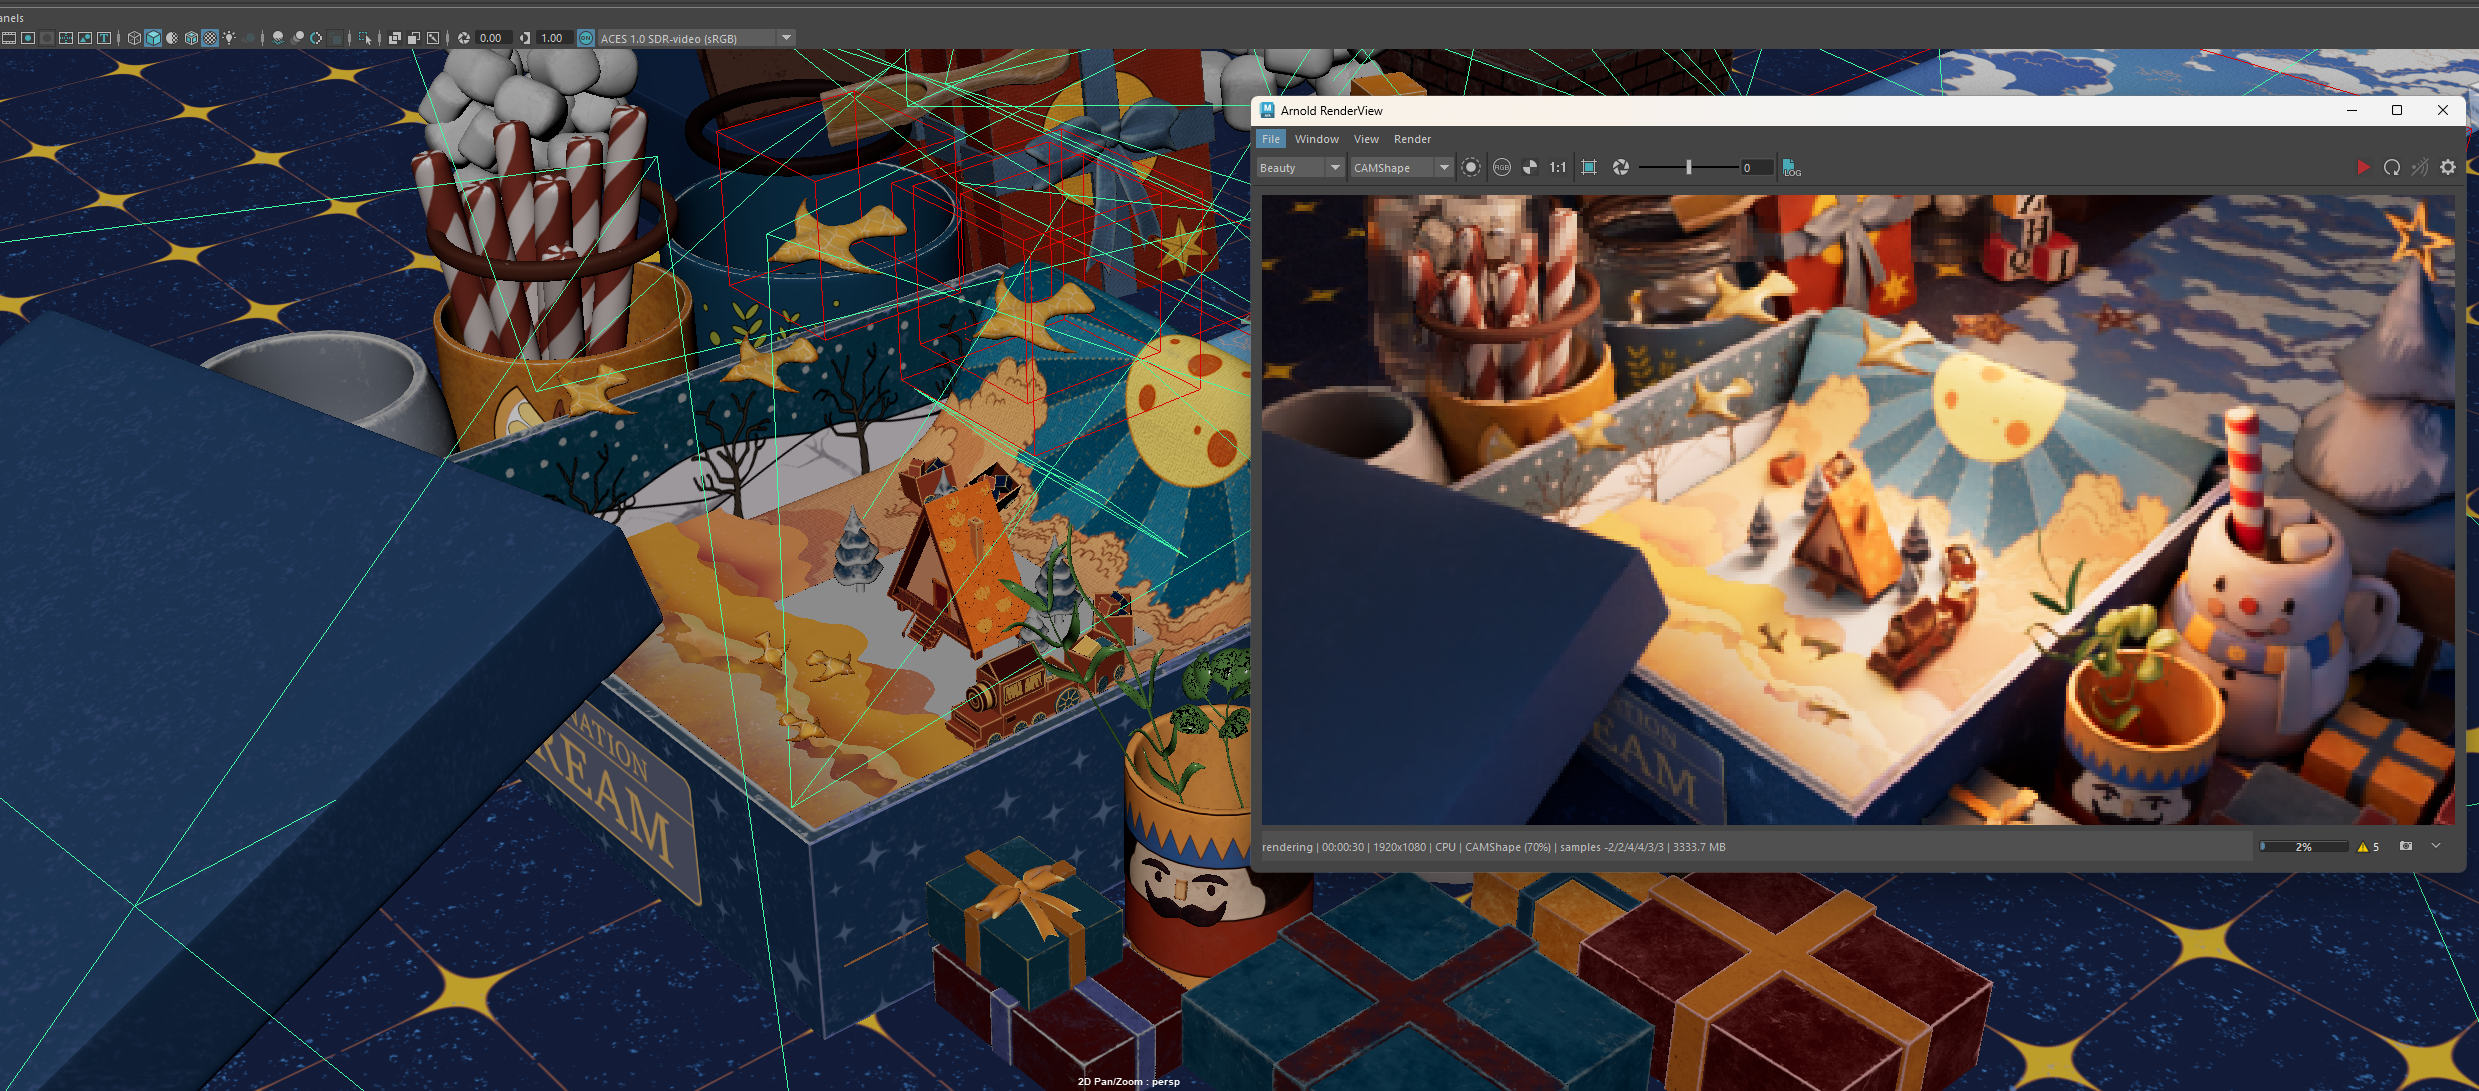
Render and Composite
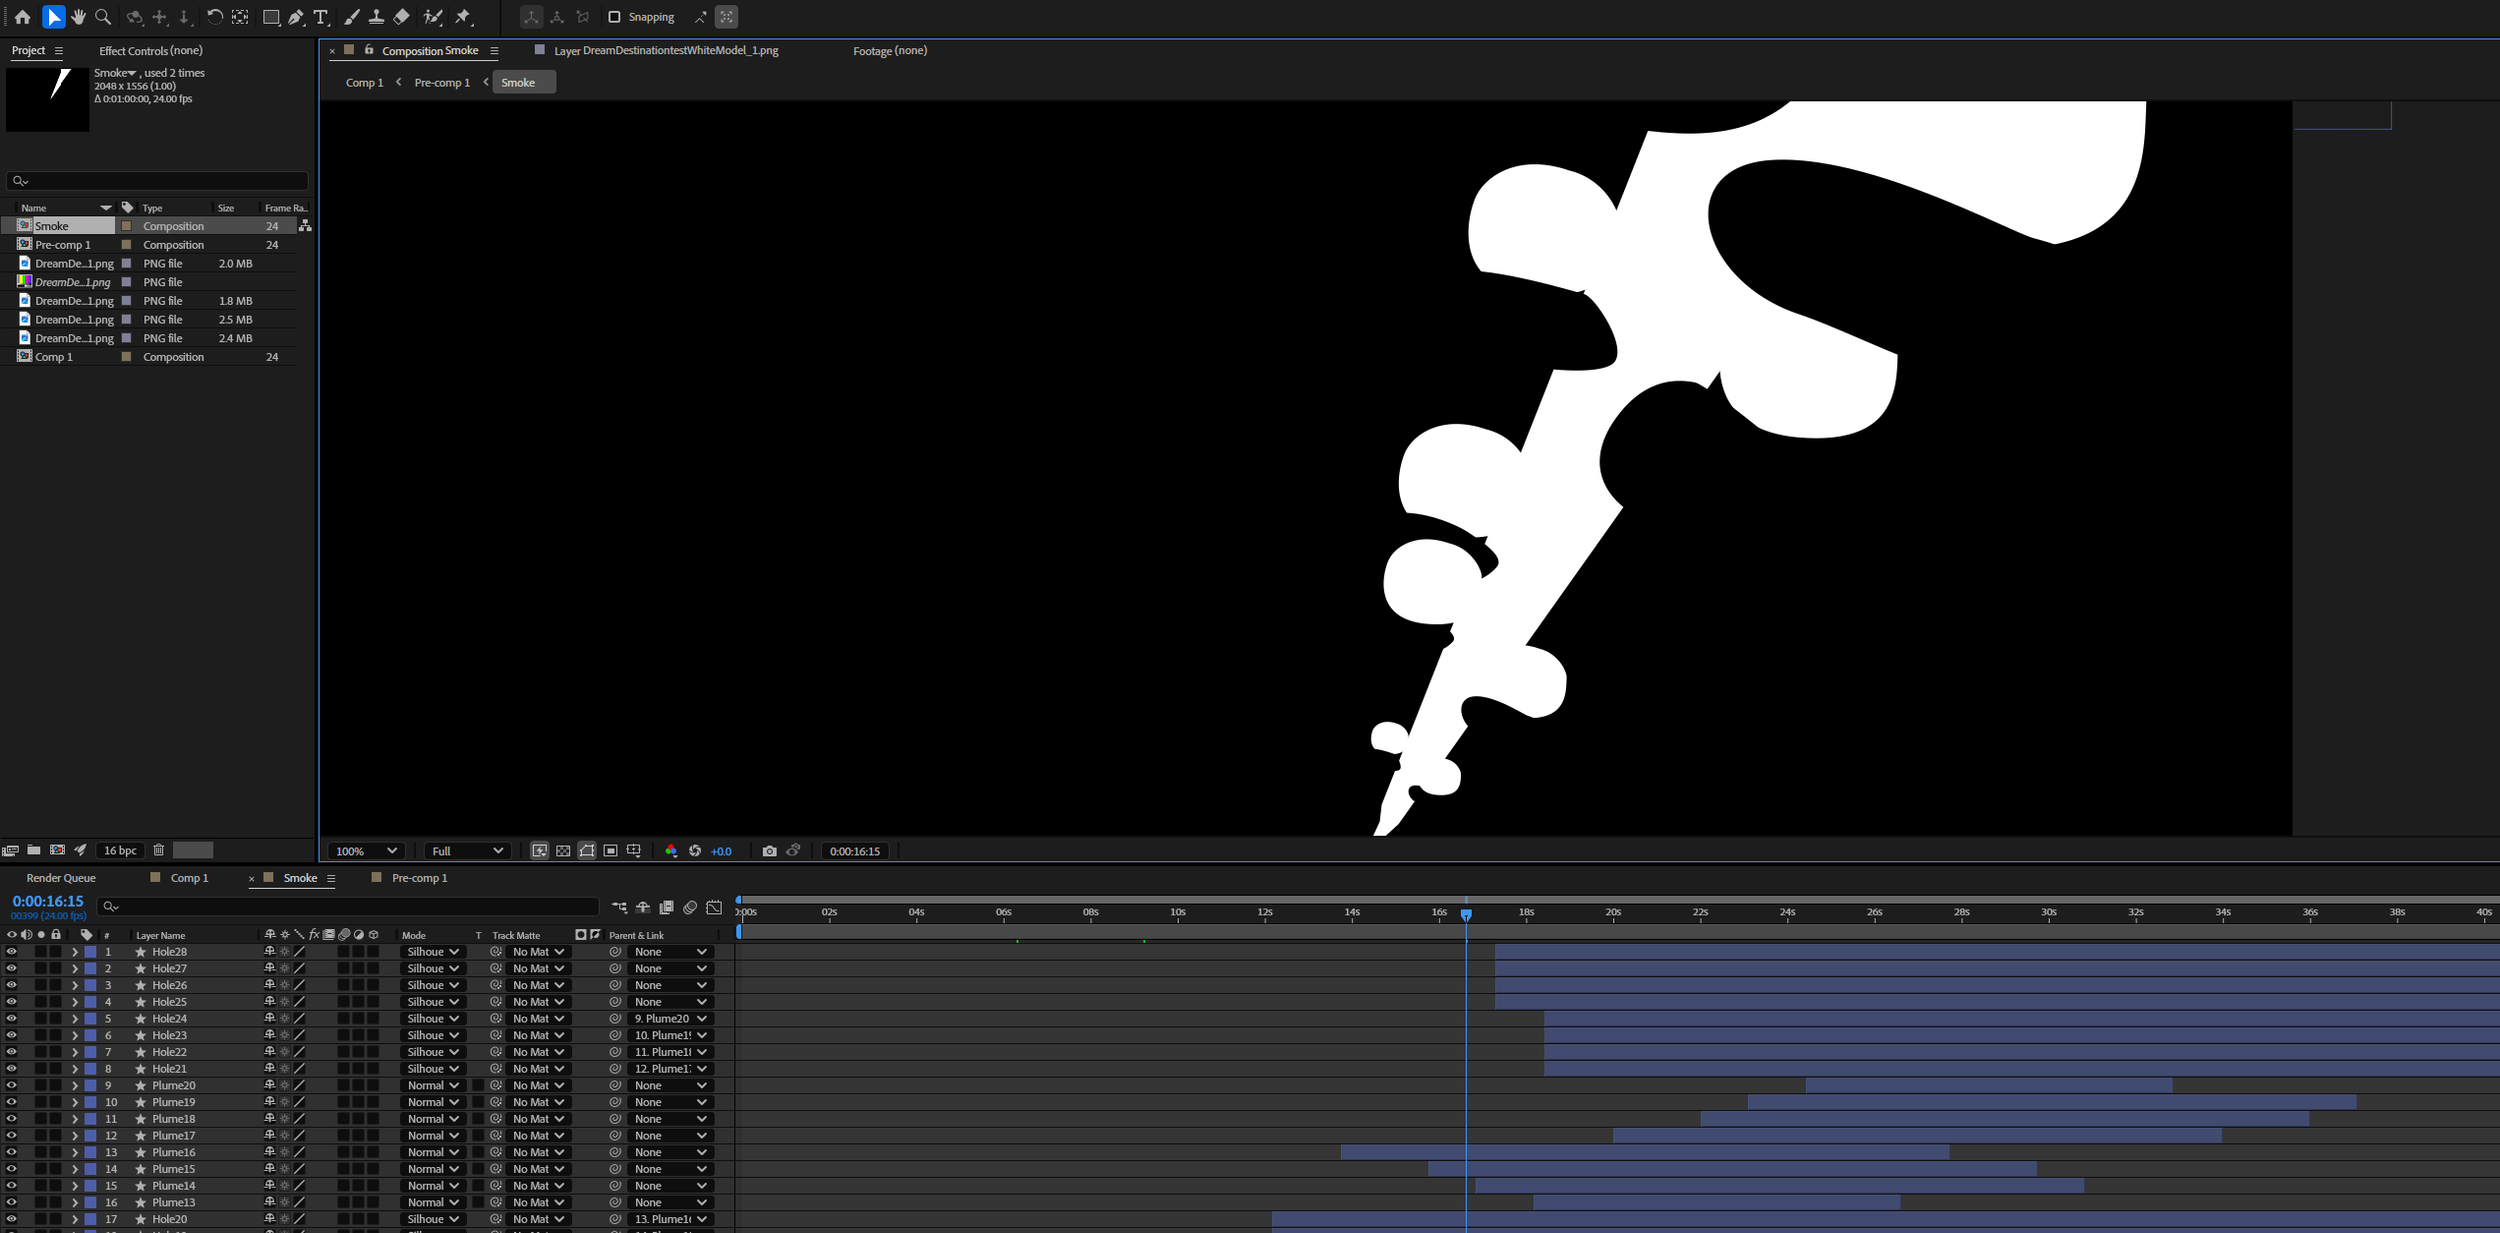
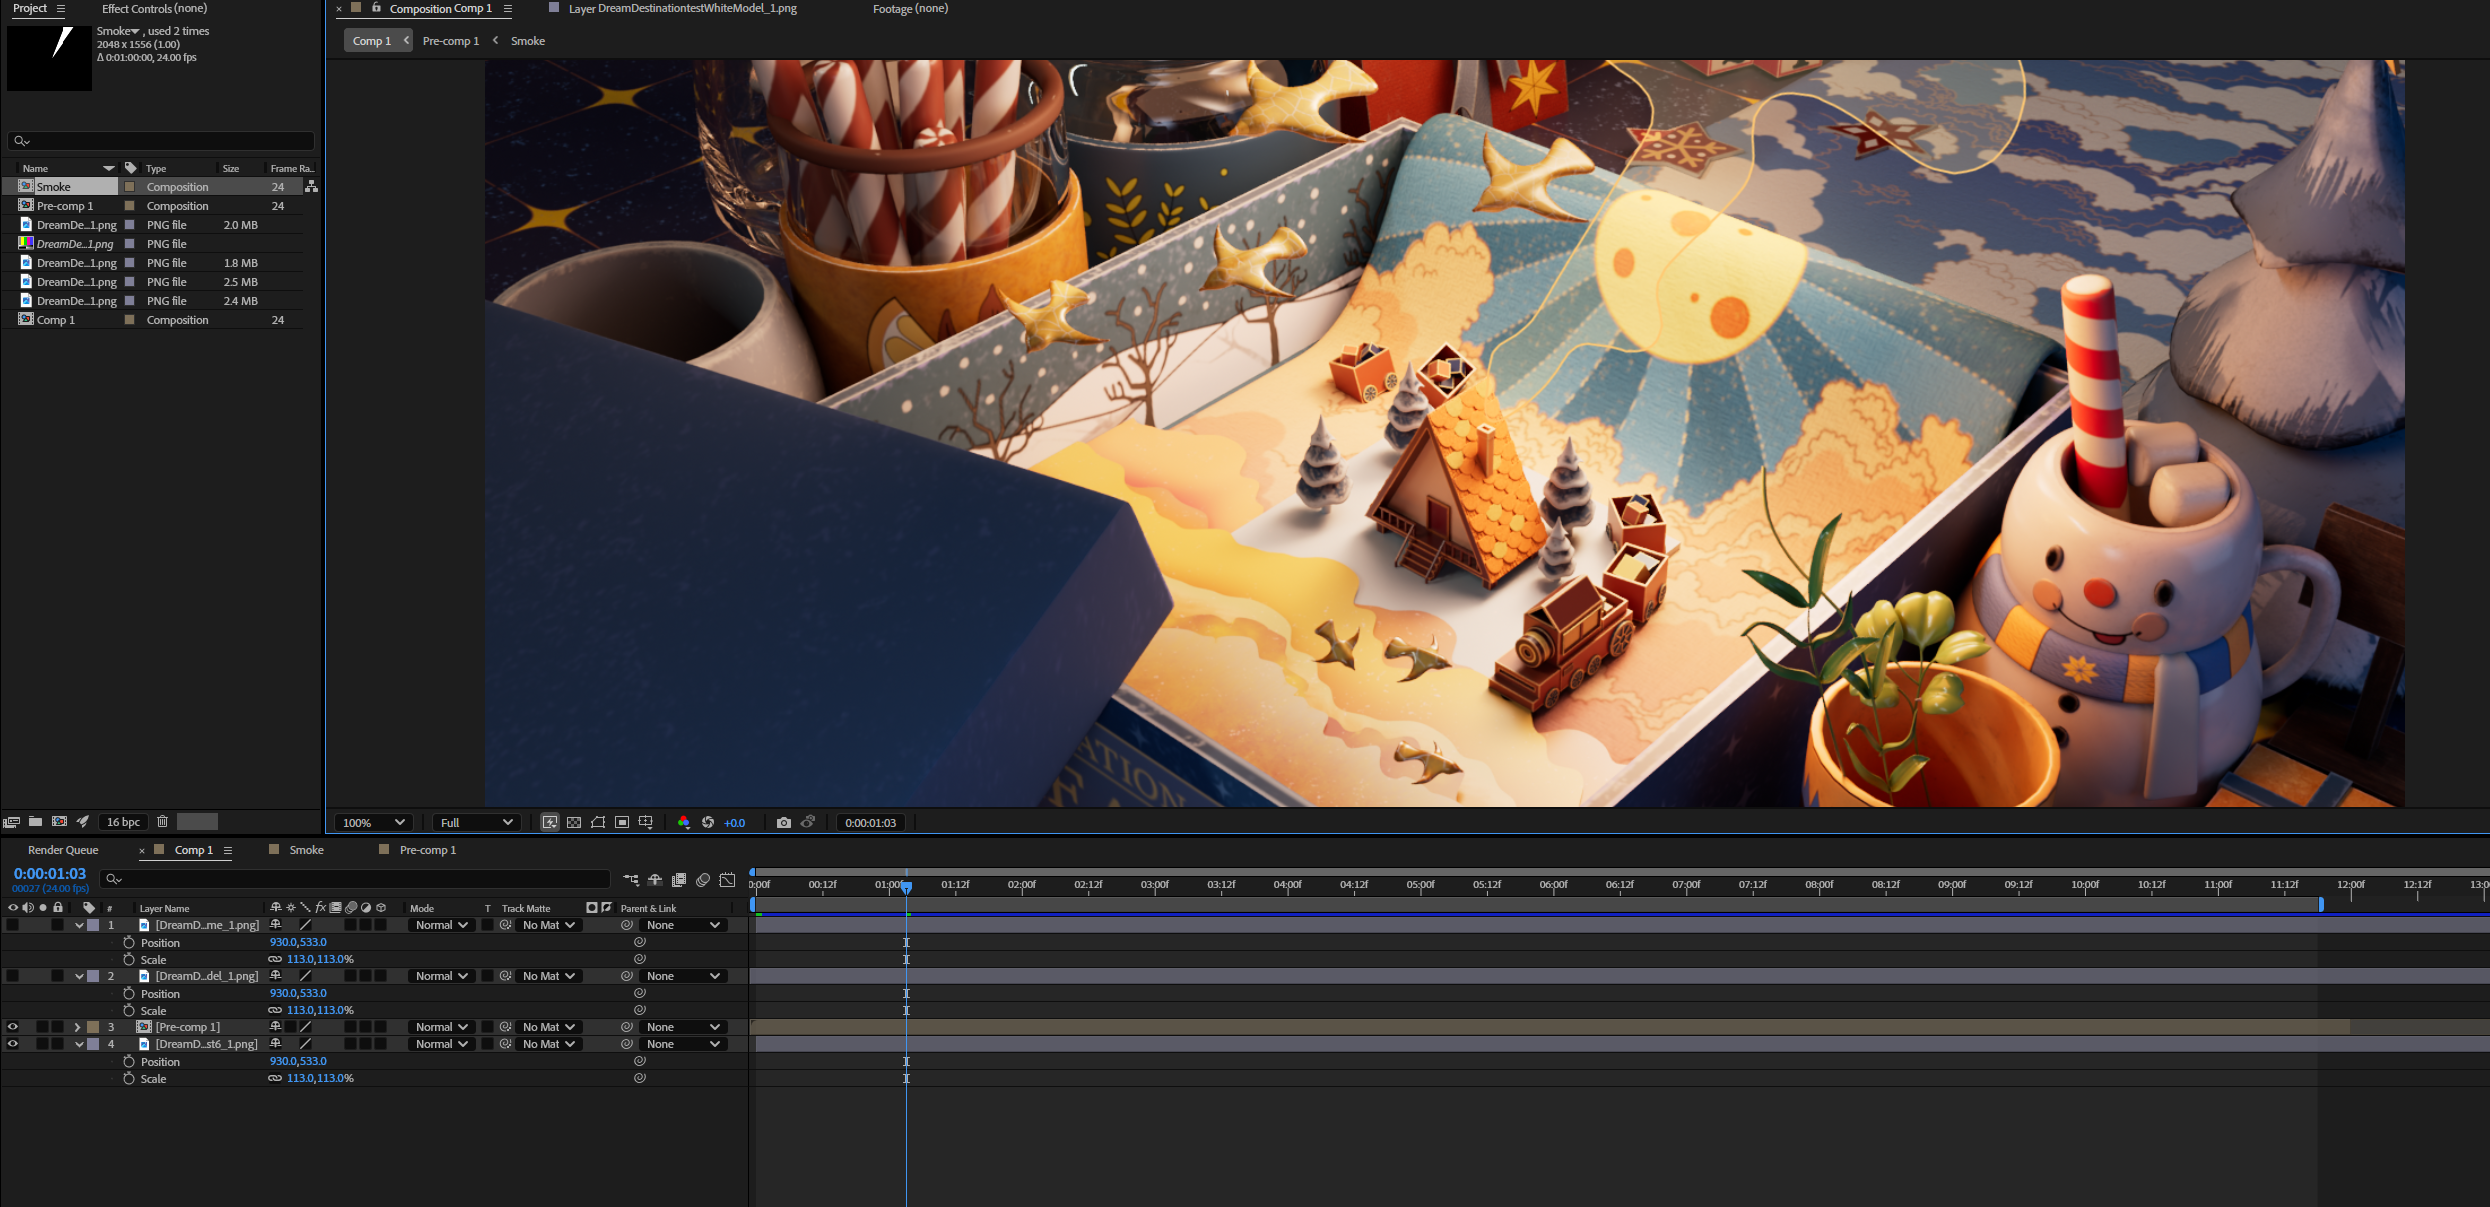
I used Maya Arnold to render out my final scene, making sure the lighting, textures, and camera angle were all carefully set. After rendering, I brought the sequence into After Effects, where I added smoke effects to enhance the atmosphere and use Nuke to make the scene feel more alive and magical.
Final Work
Revision & What did I learn?
After finishing this project, I feel that I learned a lot about lighting, texturing, modeling, and even adding a bit of VFX on top of the scene. I also incorporated many elements that I drew in Illustrator and Photoshop and brought them into my 3D project. One part I really enjoyed was integrating my name into the scene, which made the project feel more personal and rewarding to work on.
There are definitely areas where I think I could improve. When trying to incorporate more elements from my reference, I realized that the scene started to feel too crowded. Given the limited time, I pushed myself as much as possible and decided to remove some elements that felt excessive. Translating 2D illustration into 3D is something I want to improve further in my next project, especially by pushing my hand-painted texturing skills.
I also faced several challenges during this project. One example was combining 2D illustrated clouds with 3D planes to create depth. Since the illustration was fully 2D, I decided to blend 2D textures on fabric with 3D cloud planes to give the clouds more thickness and dimension. Another challenge was with fabric created using nCloth in Maya, where the UVs were not preserved properly in Substance Painter. After several attempts and searching for tutorials, I reached out to my friend Dana, who suggested exporting the mesh as an OBJ, reimporting it into Maya to fix the UVs, and then exporting it again for texturing. Thanks to her help, I was able to solve the issue.
Although there were many challenges, I’m really glad I was able to work through them and complete the project. Overall, it was a tough but very rewarding experience, and I learned a lot that I can apply to future projects! :D